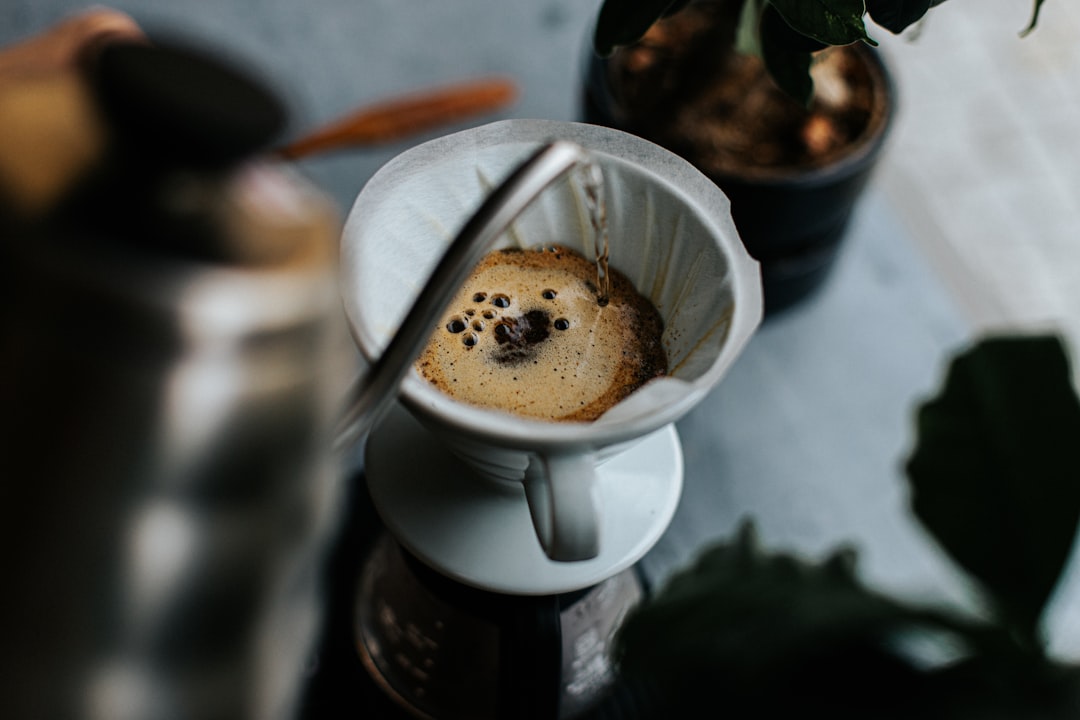
You are standing in your kitchen at 6:45 a.m., holding a plastic Hario V60 that feels like a disposable cup. You pour 93°C water over 15 grams of beans, watching the bloom with the kind of focused attention you reserve for things that matter. Thirty seconds later, you finish the pour. You wait two minutes and thirty seconds. You lift the dripper, pour the result into your favorite mug, and take a sip. It tastes thin. Sharp. Sour. You assume you bought bad beans, or you bought the wrong beans, or you are just not talented enough to make coffee. You are none of those things. You are using the wrong material for your first brew.
The best pour over coffee dripper for a beginner is not the one that looks cleanest on a shelf or the one that costs the least. It is the one that controls temperature without asking you to preheat it with boiling water. Ceramic wins that battle every time, and here is exactly why your plastic dripper is failing you, what ceramic actually does to your extraction, and how to build a setup that works from day one.
The Thermal Mass Problem in Plastic Drippers
Plastic drippers are cheap for a reason. Injection-molded polypropylene costs pennies to produce, weighs almost nothing, and does not break if you drop it in the sink. But plastic has a specific heat capacity of roughly 1.8 kilojoules per kilogram per degree Celsius, which means it absorbs heat from your brew water incredibly fast and holds very little of it. When you pour 93°C water into a thin plastic V60, the plastic immediately sucks that heat away from the coffee bed. Within the first 30 seconds of your pour, the water temperature drops by 5 to 8 degrees, depending on the thickness of the plastic and the ambient temperature of your kitchen.
Under-extraction is the direct result of that temperature drop. The compounds that create sweetness and body in coffee dissolve at higher temperatures. The compounds that create harshness and astringency dissolve at lower temperatures. When your water starts at 93°C and drops to 85°C by the time it reaches the bottom of the coffee bed, you are pulling a brew that sits in the under-extraction zone for half the contact time. The result is a cup that tastes sour, thin, and acidic, even if you used perfectly roasted beans. You are not brewing bad coffee. You are brewing cold coffee.
Plastic drippers also tend to have thicker walls than glass or ceramic, which further insulates the water from the outside air but pulls heat directly into the plastic material itself. The heat is lost to the dripper, not retained in the water. This is why plastic drippers feel cool to the touch after brewing, while ceramic drippers stay warm. That warmth is heat that stayed in your cup instead of being absorbed by your equipment.
Why Ceramic Actually Changes the Extraction Curve
Ceramic drippers have a significantly higher thermal mass than plastic. A standard ceramic Hario V60 or Kalita Wave weighs between 300 and 500 grams, compared to 20 to 40 grams for plastic. That extra mass acts as a thermal buffer. When you pour hot water into a ceramic dripper, the ceramic absorbs some of that heat, yes, but it also releases it back into the water over the course of the entire brew. The temperature curve is flatter. The water stays hotter for longer. The extraction is more even. The result is a cup that tastes sweeter, fuller, and more balanced, even if your pour technique is imperfect.
This is not a theoretical benefit. It is a measurable difference in extraction yield. Research published in the Journal of Food Science demonstrates that water temperature is the single most important variable in pour-over brewing, controlling up to 40% of the final flavor profile. When your dripper material causes a 5 to 8 degree drop in water temperature, you are shifting your extraction yield by 2 to 3 percentage points. That shift moves you from a balanced 18% extraction to an under-extracted 15% extraction. The difference between a cup that tastes like blueberries and a cup that tastes like lemon juice is often just a few degrees of water temperature.
Ceramic drippers also tend to have thicker walls than plastic, which further insulates the water from the outside air and slows down the rate of heat loss. This insulation works in your favor, keeping the water hot enough to extract the desirable sugars and aromatic compounds without letting the temperature crash halfway through the brew.
Building Your First Pour-Over Setup Without Overcomplicating It
You do not need a $200 kettle, a $150 grinder, or a $100 ceramic dripper to brew good coffee. You need three things: a ceramic dripper, a burr grinder, and a kettle with a gooseneck spout. That is it. Everything else is noise.
The ceramic dripper is the foundation. It controls temperature. It provides a stable platform for your filters. It looks good on your counter. It does not need to be expensive. A basic ceramic Hario V60 or Kalita Wave costs between $20 and $40. It will last forever. It will not break unless you drop it on concrete. It will not melt in the dishwasher. It will not warp over time. It is the most durable piece of equipment you can buy for home brewing.
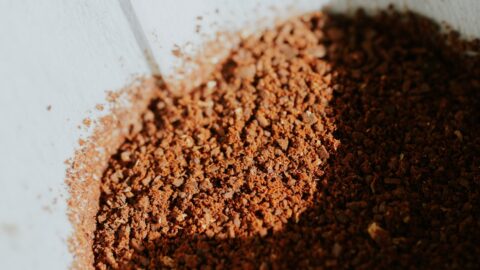
The burr grinder is the second most important piece of equipment. You cannot brew good coffee with a blade grinder. Blade grinders chop beans into uneven particles, creating a mix of fines and boulders that extract at different rates. The fines over-extract and create bitterness. The boulders under-extract and create sourness. A burr grinder cuts the beans into uniform particles, allowing all of them to extract at the same rate. The result is a cup that tastes clean, balanced, and sweet. A basic burr grinder like the Baratza Encore ESP or the 1Zpresso J-Ultra costs between $150 and $200. It will last for years. It will not need to be replaced. It will make your coffee taste better than any other piece of equipment you own.
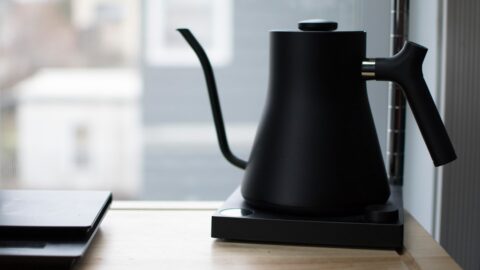
The gooseneck kettle is the third piece of equipment. It controls flow rate. It allows you to pour water slowly and evenly over your coffee bed. It prevents channeling, which is when water finds a path of least resistance through the coffee and bypasses most of the grounds. A kettle with a gooseneck spout costs between $30 and $100.
That is your entire setup. A ceramic dripper, a burr grinder, and a gooseneck kettle. Total cost: $200 to $350. You can buy all of this for less than the cost of a single month of coffee shop visits. You can brew coffee at home that tastes better than anything you can buy at a café. You just need to start with the right equipment.
How to Dial In Your First Brew
Once you have your setup, you need to learn how to use it. Start with a 1:16 ratio. That is 15 grams of coffee to 240 grams of water. Grind your coffee to a medium-fine setting, like sea salt. Pour 50 grams of water in a slow, circular motion, starting from the center and moving outward. Wait 30 seconds for the coffee to bloom. Pour the remaining 190 grams of water in the same slow, circular motion. Total brew time should be between 2 minutes 30 seconds and 3 minutes. If the coffee tastes sour, grind finer. If it tastes bitter, grind coarser. If it tastes thin, increase your brew ratio to 1:17.
This is not a rigid recipe. It is a starting point. You will adjust it based on your beans, your water, and your taste preferences. But you will always start with the same three pieces of equipment. That is the foundation of every great cup of coffee. Everything else is just variation.
When Plastic Still Makes Sense
Plastic drippers are not useless. They are cheap, lightweight, and portable. If you are traveling, camping, or brewing for a group of people, plastic is a practical choice. It does not need to be preheated. It does not add weight to your pack. It does not break if you drop it. But if you are brewing at home, every day, ceramic is the better choice.
Plastic drippers are also a good choice for beginners who are not sure if they will stick with pour-over brewing. They are cheap enough to experiment with. They are light enough to store easily. They are durable enough to survive mistakes. But once you commit to brewing coffee at home, you should upgrade to ceramic. It is a small investment that makes a huge difference in your cup.
The Real Cost of a Bad Dripper
The real cost of a bad dripper is not the $20 you saved on the equipment. It is the thousands of cups of coffee you will brew that taste thin, sharp, and acidic. It is the frustration of thinking you are bad at brewing coffee when you are actually just using the wrong material. It is the wasted beans, the wasted water, and the wasted time. It is the reason you give up on home brewing and go back to buying coffee at a café.
Do not let a cheap plastic dripper steal your joy. Start with ceramic. Start with a burr grinder. Start with a gooseneck kettle. Brew your first cup of coffee at home. Taste the difference. Then brew another. And another. Until you realize that you have been brewing good coffee all along. You just needed the right equipment.
Sources & Further Reading
- The Effect of Brewing Temperature on the Extraction of Coffee Solubles — Journal of Food Science
- Specialty Coffee Association of America: Home Brewing Guidelines — Specialty Coffee Association
- Specific Heat Capacity of Common Plastics — The Engineering ToolBox
Photo by Szymon Satora on Unsplash.