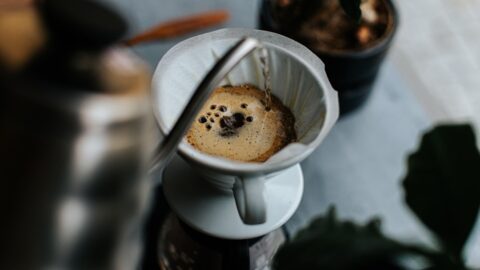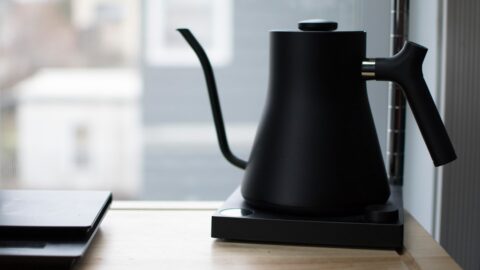
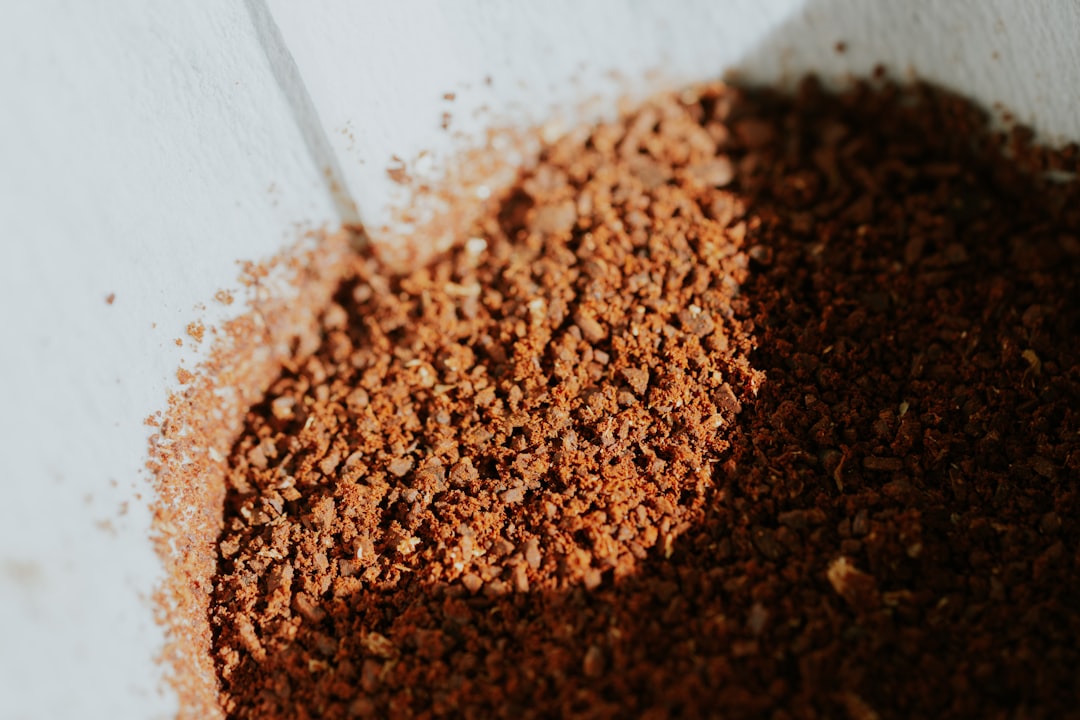
A standard home grinder produces a bimodal distribution of particle sizes. The fines (particles under 75 microns) dissolve rapidly, contributing to body and sweetness. The boulders (particles over 600 microns) extract slowly, contributing to structure and acidity. The goal of your grind setting is not to make every particle identical, but to balance the ratio of fines to boulders so that the filter paper can actually do its job. If your distribution is too even, the fines clog the paper, choking the flow and creating a muddy, over-extracted cup. If it is too wide, the boulders pass through unextracted, leaving a sour, hollow cup.
Most home brewers treat grind size as a dial to turn, not a distribution to manage. You pick a setting, pull a brew, and if the cup tastes thin, you grind finer. If it tastes bitter, you grind coarser. This binary approach works for a while, but it breaks down the moment you try to extract clarity from a light roast. The real variable is not the average particle size, but the shape of the distribution curve that defines how those particles interact with water and filter paper.
This article explains how to grind for pour over by focusing on the particle distribution that defines clarity. You will learn how to adjust your grinder to widen or narrow that distribution, how to read the visual cues of your brew, and how to use a simple ratio test to dial in your specific device. The solution is not a single number on your grinder dial. It is a relationship between your grinder’s burr geometry, your filter paper’s porosity, and your desired cup profile.
The Fines Problem: Why Your Pour Over Tastes Muddy
The most common mistake home brewers make when learning how to grind for pour over is assuming that ‘fine’ is always better for clarity. It is not. A fine grind creates more surface area, which sounds good on paper, but it also creates more fines. Fines are the microscopic particles that pass through the filter paper and end up in your cup. They are responsible for the ‘silt’ you see at the bottom of your glass carafe, and they are responsible for the astringent, papery, or muddy mouthfeel that ruins otherwise excellent coffee.
When you grind coffee for pour over, you want a controlled amount of fines to provide body, but not enough to choke the flow. The Specialty Coffee Association (SCA) recommends a brew time of 2:30 to 3:30 minutes for a standard 1:16 ratio. If your brew finishes in 2:00, you are under-extracting because the water is moving through too quickly, bypassing the boulders. If your brew takes 4:00, you are likely over-extracting the fines, pulling out bitter tannins and creating that harsh, dry finish.
The solution is not to grind finer. The solution is to grind coarser, but more unevenly. A coarser, more uneven distribution allows the water to flow through the bed more freely, reducing the contact time with the fines and preventing over-extraction. This is counter-intuitive. Most brewers think ‘clearer cup equals finer grind.’ The reality is that ‘clearer cup equals coarser grind with fewer clogging fines.’ By widening your distribution, you allow the boulders to extract fully without the fines choking the flow.
Grinder Geometry: Conical vs. Flat Burrs
Your grinder’s burr geometry dictates the shape of your particle distribution. This is the single most important factor in determining how to grind for pour over. Conical burrs, found in grinders like the Baratza Encore or the 1Zpresso J-Ultra, produce a bimodal distribution with a heavy tail of fines. This is ideal for espresso, where you need those fines to create pressure and body, but it is a liability for pour over, where those fines create mud.
Flat burrs, found in grinders like the Fellow Ode or the Niche Zero, produce a more uniform, unimodal distribution with fewer fines. This is ideal for pour over because it allows for a cleaner cup with brighter acidity. When you grind coffee for pour over using a flat-burr grinder, you are getting a more consistent extraction because there are fewer extreme particles to throw off the balance. The trade-off is that you lose some body, which is why many brewers add a small amount of bypass water to restore mouthfeel.
If you are using a conical burr grinder, you must compensate for the heavy fines tail. The standard advice is to grind finer to compensate for the boulders, but this only creates more fines, creating a feedback loop of mud and bitterness. Instead, grind coarser than you think you need. This allows the boulders to extract fully while reducing the total number of fines that clog the filter. It is a counter-intuitive adjustment, but it is the only way to get clarity from a conical burr grinder.
Filter Paper: The Silent Variable
Your filter paper is not a passive barrier. It is an active variable in your extraction equation. Thicker papers, like those used in the Kalita Wave or the Hario V60 (thick ceramic version), trap more fines, resulting in a cleaner, brighter cup. Thinner papers, like those used in the Hario V60 (plastic version) or the Chemex (thick paper), allow more fines through, resulting in a heavier body but a muddier mouthfeel.
When you grind coffee for pour over, you must match your grind setting to your filter paper. A thick paper requires a finer grind to ensure the water has enough contact time with the coffee. A thin paper requires a coarser grind to prevent the fines from passing through and creating a muddy cup. If you switch filter brands, you must re-dial your grinder. This is why your recipe works one week and fails the next. The paper changed, not the coffee.
The SCA Cupping Protocol uses a specific paper thickness to standardize results. You can replicate this at home by using a thick paper and grinding slightly finer than you normally would. This will give you a cleaner cup with brighter acidity, which is the hallmark of a well-extracted pour over. If you prefer body, switch to a thinner paper and grind coarser to allow more fines through.
The Ratio Test: How to Dial In Your Grind
Stop guessing. Use the ratio test to dial in your grind setting. This is a simple, repeatable method that takes the guesswork out of how to grind for pour over. Here is the protocol:
- Brew 15 grams of coffee with 240 grams of water at 93°C (200°F).
- Start your timer when you pour the first drop.
- Stop your timer when the last drop passes through the filter.
- Record the total brew time.
If your brew time is under 2:30, grind coarser. Do not grind finer. Grinding finer will only create more fines and choke the flow further. If your brew time is over 3:30, grind finer. Do not grind coarser. Grinding coarser will only create more boulders and leave the cup sour. Adjust your grinder in 5-click increments, brew again, and record the time. Repeat until your brew time lands between 2:30 and 3:30.
This is the core of how to grind for pour over. It is not about a specific number on your grinder dial. It is about finding the sweet spot where your brew time, your filter paper, and your grinder geometry align to produce a balanced cup. Once you find that spot, write it down. Your next bag of coffee will require a slightly different setting, but you will be close. The ratio test is your anchor.
Conclusion: The Clarity Equation
Learning how to grind for pour over is not about finding the perfect setting. It is about understanding the relationship between your grinder, your filter, and your brew time. By focusing on particle distribution rather than average grind size, you can produce a cup that is both clear and complex. The fines provide the body, the boulders provide the structure, and the filter paper provides the clarity. Balance them, and you will never have a muddy cup again.
Sources & Further Reading
- Specialty Coffee Association Home Brewing Guidelines — Specialty Coffee Association
- Coffee Extraction: The Physics of Brewing — Elsevier (Food Chemistry)
- Understanding Particle Size Distribution in Coffee Grinding — Elsevier (Food Chemistry)
Photo by Yohan Marion on Unsplash.